
The use of virtual printers, such as Microsoft Print to PDF or Microsoft XPS Document Writer, is only possible to a limited extent in combination with 365 business Print Agent, as essential information, such as paper trays, does not exist for virtual printers. 365 business Print Agent therefore prevents incompatible virtual printers and displays them as “Not usable”.
If you still want to test the function of 365 business Print Agent with a virtual printer, we recommend using an individually installed Microsoft XPS Document Writer (MXDW).
Since the printout is executed by the 365 business Print Agent as a service, in the context of the local system, the display of dialogs is not possible and leads to errors.
Therefore it is necessary to install an individual printer and configure the file output without additional dialogs.
The following article describes the setup for an individual Microsoft XPS Document Writer (MXDW) based printer.
Summary
When choosing the option to Print to File from an application, the user is prompted with a dialog to choose the location and name of the file to be saved. If it is desired to automate the print to file process in such a way as to save the file without user interaction, follow below steps.
- Go to Devices and Printers.
- Click on Add Printers.
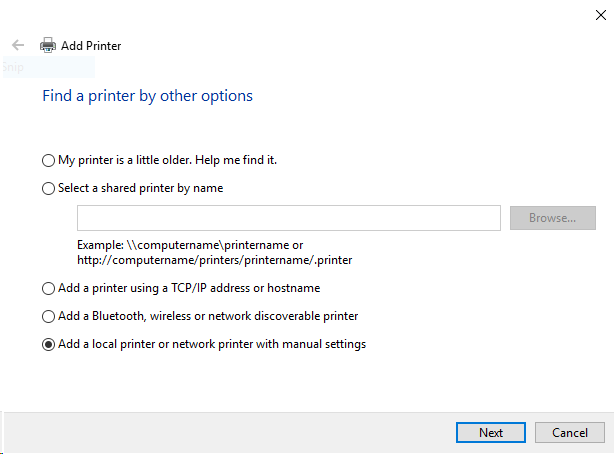
- Click on Add a local or network printer with manual settings.
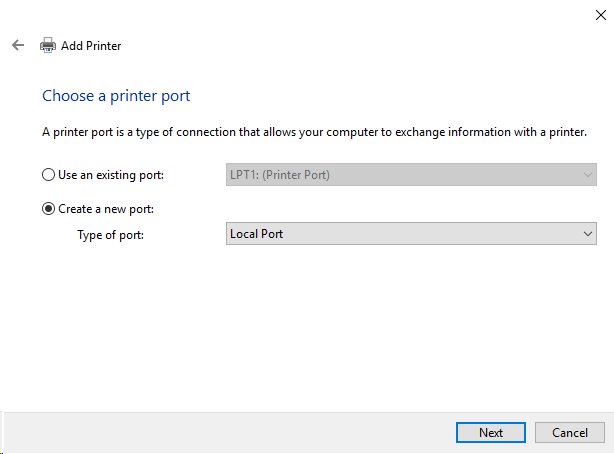
- Click on Create a new port: Local Port.
- You will get a Port Name Box - Type in Path and the file name. for example,
C:\Temp\PrintJob.xps. - Select the Manufacturer -
Microsoft. - Select Printers -
Microsoft XPS Document Writer v4.
- Select - Use the driver that is currently installed (recommended).
- Type a name for the printer.
- Finish.
- Share the Printer in 365 business Print Agent configuration tool.
For tests, it may therefore make sense to switch the user for running the 365 business Print Agent service to another user with read and write permissions to the local file system. Translated with www.DeepL.com/Translator (free version)
After these steps, any print jobs sent to this printer will automatically be saved to the location specified as the port. Additionally print jobs sent using 365 business Print Agent will work ans save the print out at the specified (see step 5) location.