
Requirements
- Operating system
- Windows 10 or higher (64-bit)
- Windows Server 2016 or higher (64-bit)
- .NET 8.0
- Internet connection
- 365 business Proxy Application Client Installer
Note: To update your Proxy Application Client, download the latest version. Your settings will be restored after the installation.
Before you start
Please read the article to find out where to install the 365 business Proxy Application Client.
Good to know: Please note that to complete the installation of the 365 business Proxy Application Client, you need to specify the Tenant ID of your Microsoft Dynamics 365 Business Central environment.
You can find this information in the Proxy Application Setup.
For more information, please visit the page Get Started.
You can find this information in the Proxy Application Setup.
For more information, please visit the page Get Started.
Installation of the Proxy Application Client
- Download the latest version of the 365 business Proxy Application Client.
- save the downloaded ZIP file on the server or computer you want to use with 365 business Proxy Application.
- unzip the ZIP file (e.g.
C:\install) - start the setup file and follow the instructions
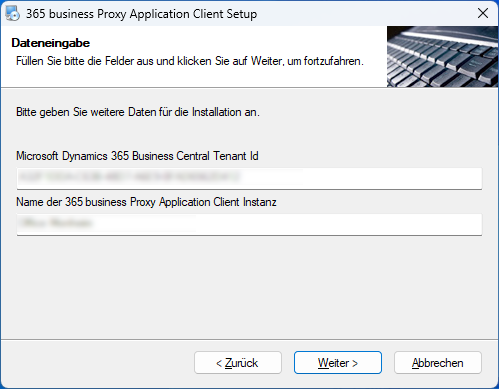
- enter the Tenant ID of your Microsoft Dynamics 365 Business Central environment and a Name for the client, which will help you to identify the client in Microsoft Dynamics 365 Business Central.
- (Optional) Enter a domain user and the password with which 365 business Proxy Application Client is to be operated.
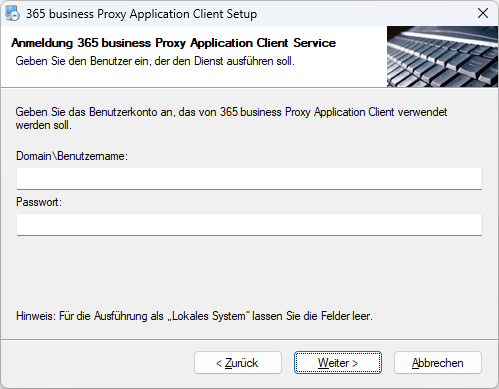 Note: If you do not specify a user, 365 business Proxy Application Client will run in the Local System context.
 - after the installation is complete, the service is started automatically and is immediately available in Microsoft Dynamics 365 Business Central, in the Proxy Application Clients page.
Install proxy application plugins
The plugins for 365 business Proxy Application are installed via Microsoft Dynamics 365 Business Central.
- open Microsoft Dynamics 365 Business Central.
- open Proxy Application Clients page.
- select Refresh to load the available 365 business Proxy Application Clients.
- select the desired proxy application client based on the name you assigned in the previous step.
- select Install plugins.
- click Next.
- select the plugins (e.g. File Plugin) that you want to install.
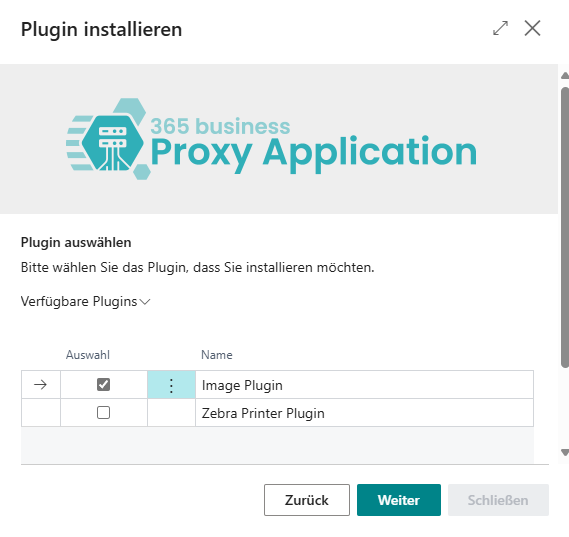
- click Next.
- after the successful plugin installation click Close.