
A print profile represents a specific configuration of your printer that controls advanced functionalities.
Advanced functionalities include:
- Finishing options such as stapling, punching, and binding,
- Printing options for label printers, such as offset, temperature, and print speed.
Creating a Print Profile
Step 1: Select the Printer
In the 365 business Print Agent Config, select “Printers” and mark the printer for which you want to create a print profile. Then select the “Print Profiles” menu.

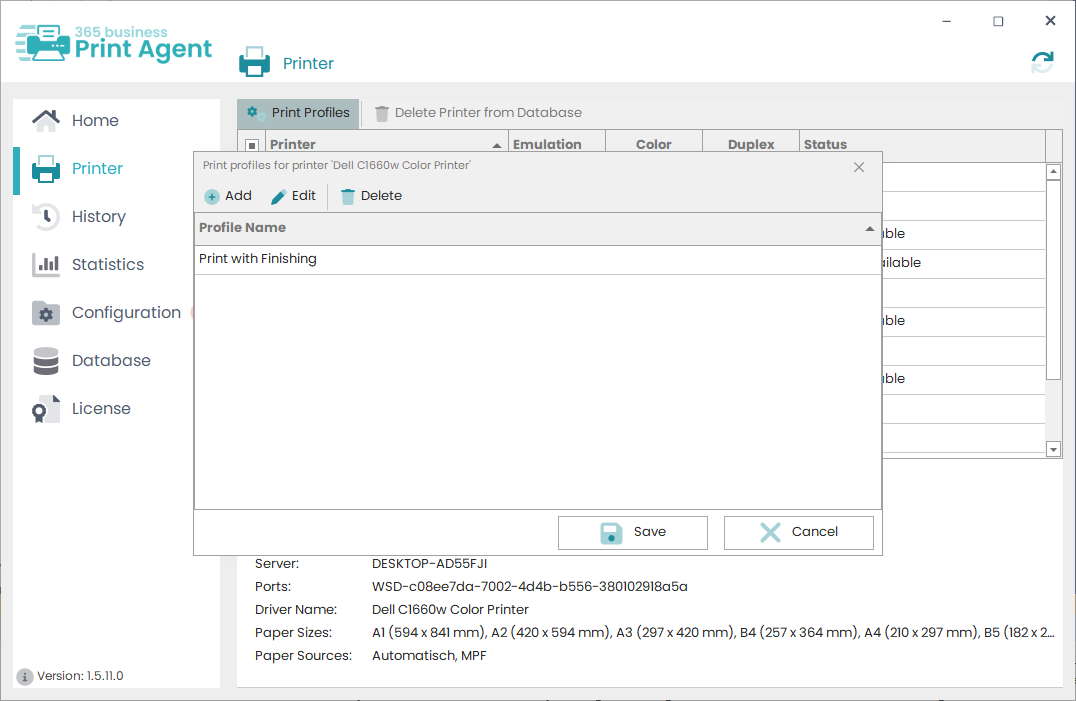
Step 2: Managing Print Profiles
In the next dialog, all existing print profiles for the selected printer will be displayed. You have the option to create, edit, and delete print profiles. By clicking the “Save” button, your changes will be stored in the database.
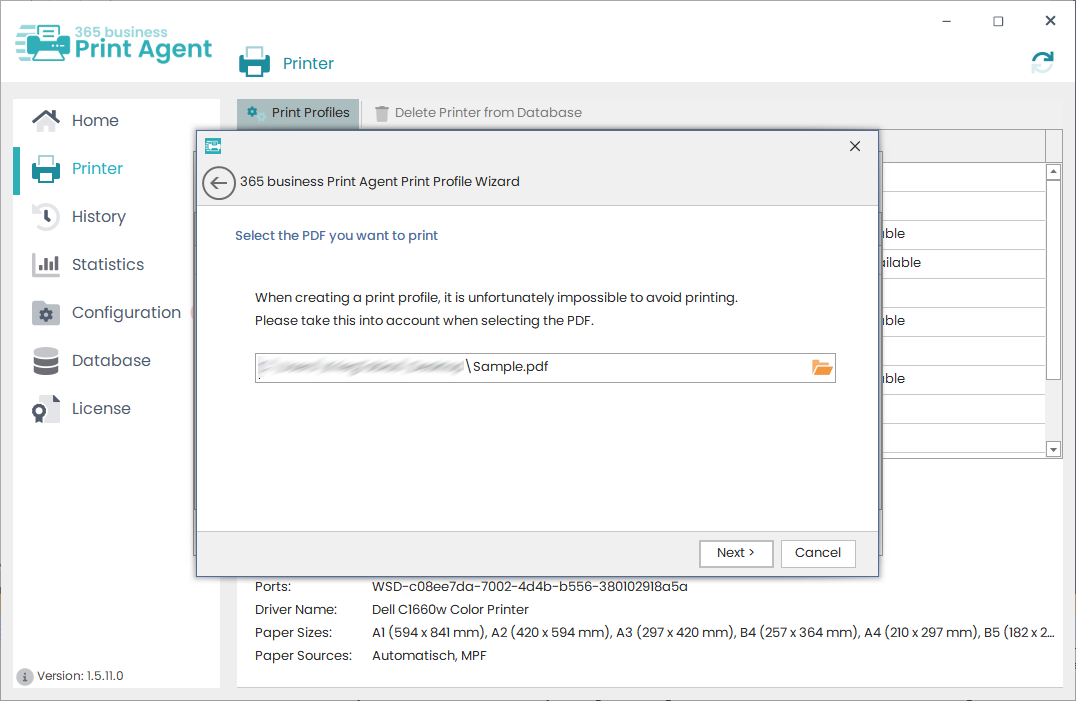
Step 3: Creating a Print Profile
Click “New” to create a new print profile. A wizard will open to guide you through the process. After an introduction, you will be asked to select a PDF file for a test print. After selecting the PDF, click “Next.”
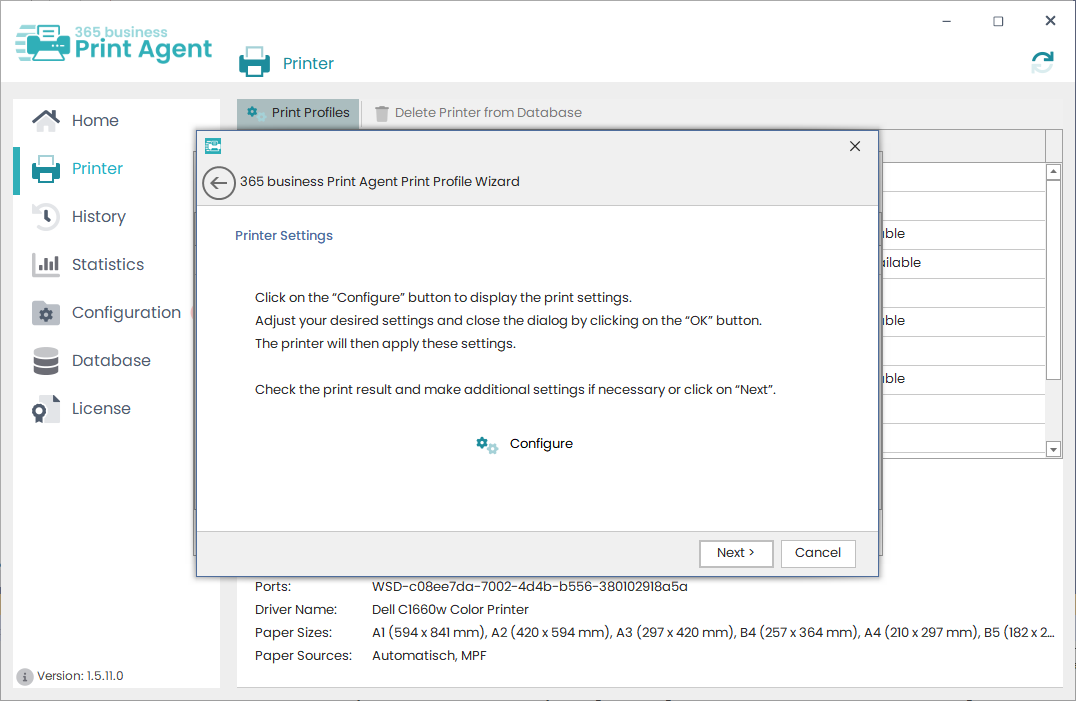
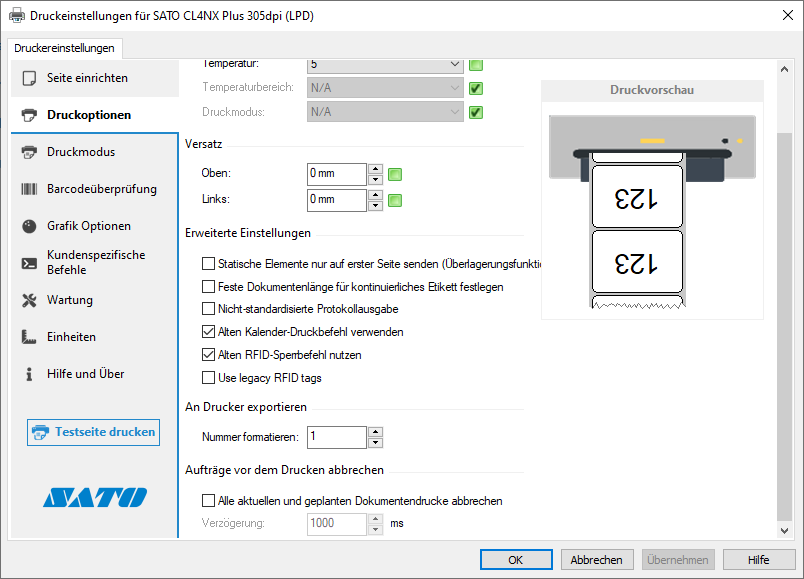
On the next page, you can click the “Configure” button to open the print settings dialog.
Make the necessary adjustments and confirm by clicking “OK.” The PDF will then be printed.
Please check the print result. If it meets your requirements, click “Next” to proceed.
If the result is unsatisfactory, you can refine the settings by clicking “Configure” again.
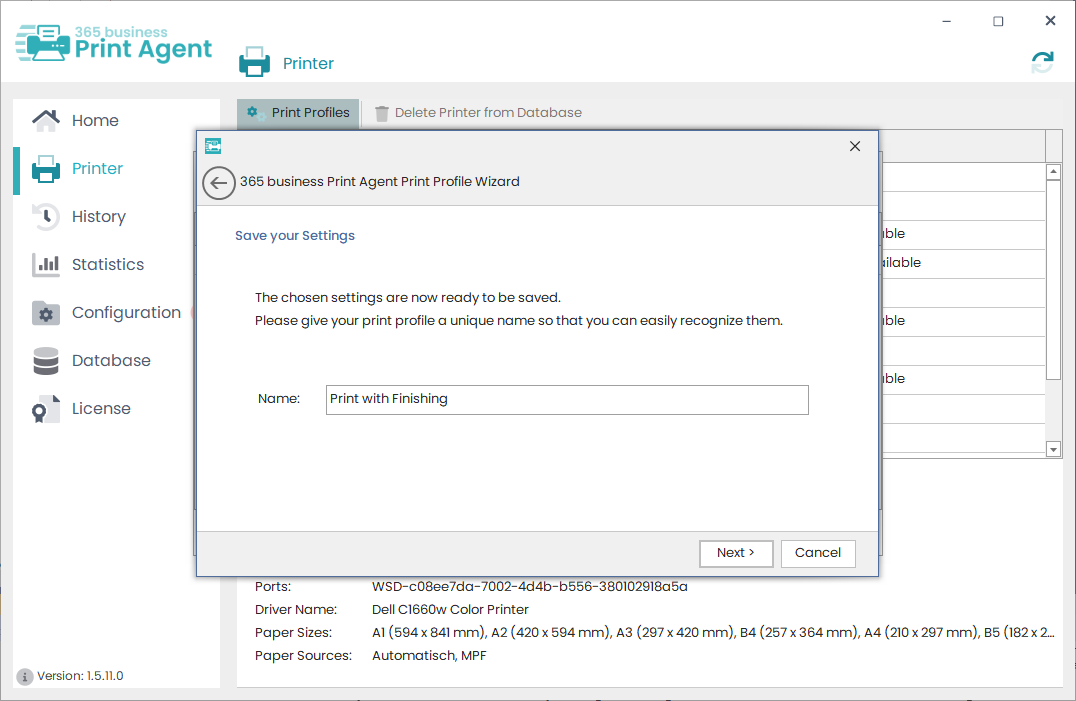
In the final step, you will give the print profile a name. Under this name, the print profile will be available in the 365 business Print Agent App in Microsoft Dynamics Business Central.
Nach erfolgreicher Einrichtung können Sie den Assistenten beenden.
Step 4: Saving the Print Profile
Click “Save” to create the print profile and make it available in the 365 business Print Agent App.