Setup
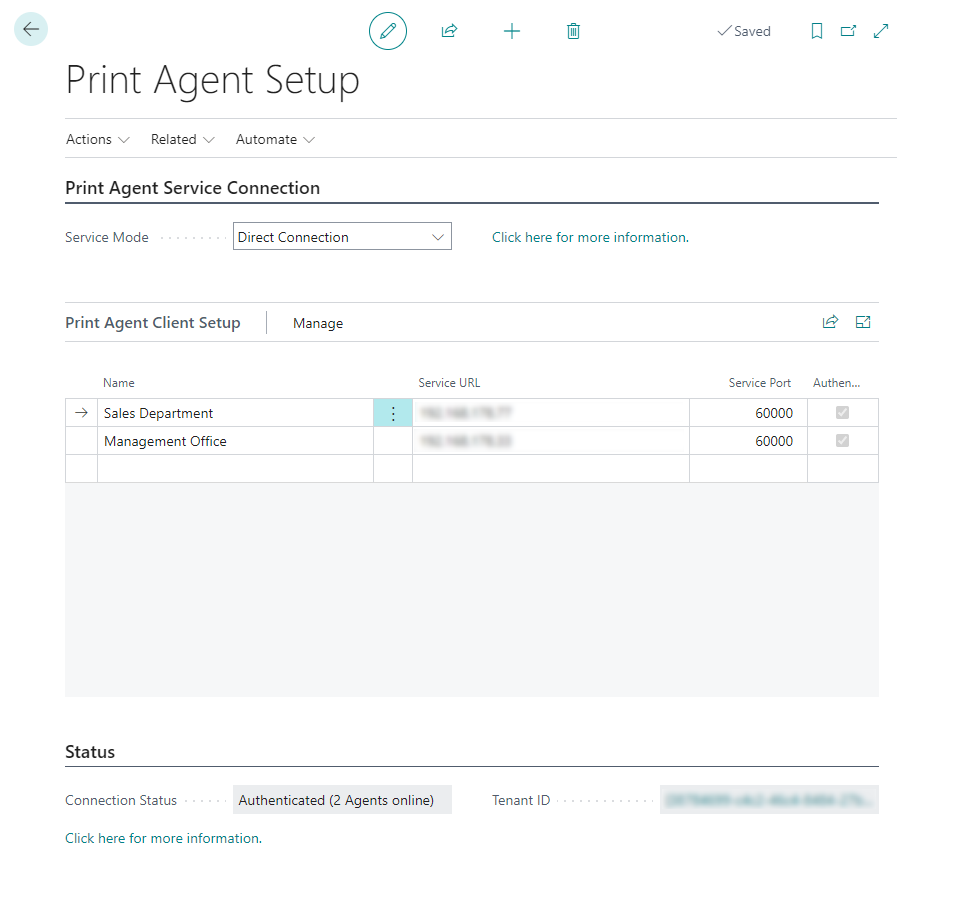
The Print Agent Setup contains the configuration for the communication between Microsoft Dynamics 365 Business Central and the 365 business Print Agent Service or the cloud, depending on the selected service mode.
Setup Parameters
| Field name | Group | Description |
|---|---|---|
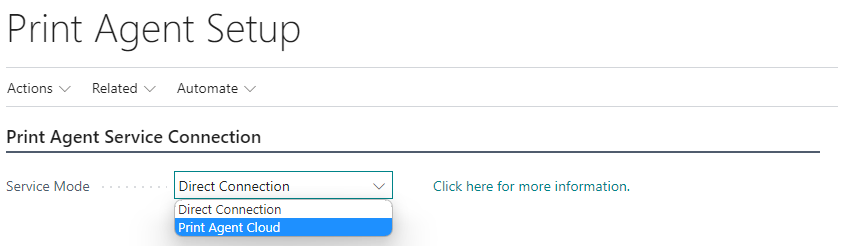
| Service Mode | Print Agent service connection | Specifies the service mode for communication with the 365 business Print Agent. You can choose between direct connection or Print Agent Cloud. The latter enables a connection to one or more Print Agents with less configuration effort. For Microsoft Dynamics 365 Business Central SaaS environments, we recommend Print Agent Cloud. |
| Enable Printer Configuration by Default | Defaults | Specifies that newly created printer configuration are activated by default. This includes printer configurations automatically created by the system for newly recognized printers. |
| Name | Print Agent Service Setup | Specifies the name of the Print Agent service instance. This field is used to distinguish individual instances. (only relevant for direct connection service mode) |
| Service URL | Print Agent Service Setup | Specifies the service URL for communication with the Print Agent Cloud Service. As a rule, this address does not need to be adjusted. (only relevant for direct connection service mode) |
| Service Port | Print Agent service setup | Specifies the TCP port used for communication with the Print Agent service. (only relevant for direct connection service mode) |
| Authenticated | Print Agent Service Setup | Indicates whether the Print Agent service instance is connected to the Microsoft Dynamics 365 Business Central tenant. (only relevant for direct connection service mode) |
| Connection Status | Status | Shows the current connection status between Print Agent and Microsoft Dynamics 365 Business Central. |
| Tenant ID | Status | Specifies the Tenant ID used to secure the communication between Print Agent and Microsoft Dynamics 365 Business Central. |
Setting up the Print Agent Cloud service mode
- Select Print Agent Cloud as Service Mode.
Learn more - Click Authenticate with Print Agent.
Set up direct connection as service mode
Info
Support for multiple Print Agent Service Instances was introduced with version 18.2 of the 365 business Print Agent.
Please make sure you are using the latest version to use this feature.
Please make sure you are using the latest version to use this feature.
- Select Direct connection as Service mode.
Learn more - Create a new row in the Print Agent Client Setup list.
- Enter the Name of the Print Agent Service Instance.
- Enter the Service URL (e.g. the IP address of the server on which the Print Agent service is installed).
- Enter the Service Port (default: TCP port
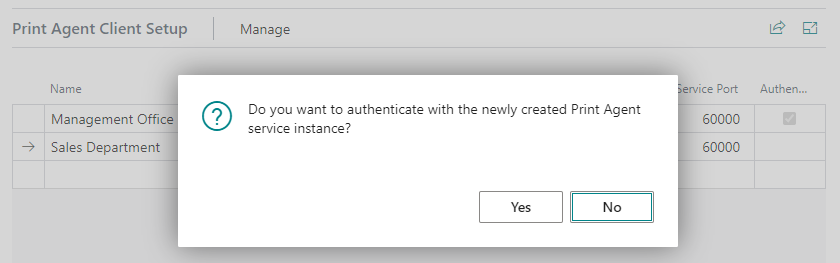
60000). - Confirm the question about the authentication of the Print Agent Service Instance.
- Repeat steps 2-6 for further Print Agent Service Instances.