
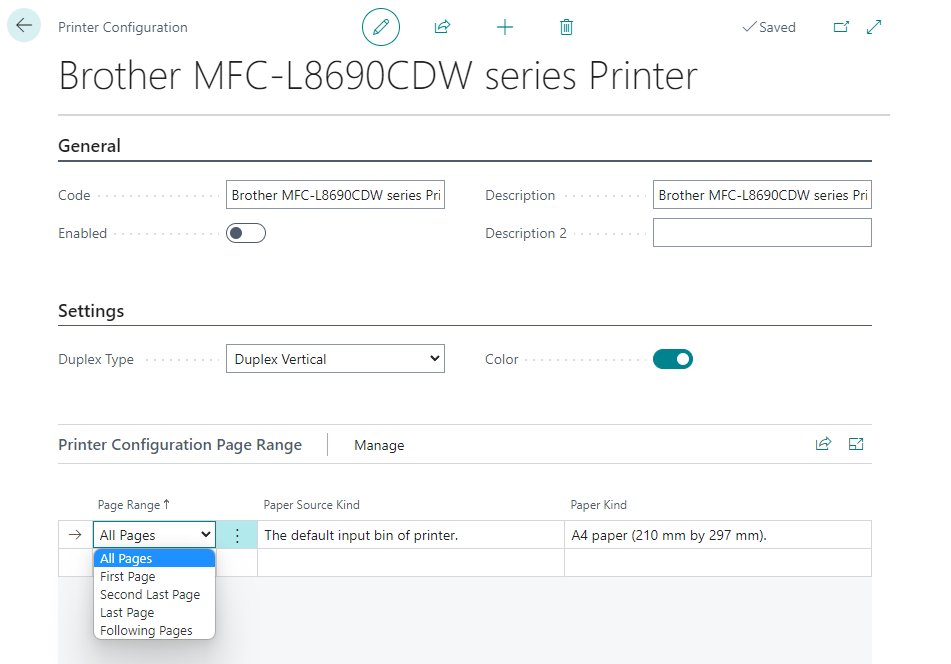
Printer Configuration
In Microsoft Dynamics 365 Business Central, Printer Configurations are used as Printers. A default configuration is automatically created for each printer based on the available functions of the device.
Furthermore, the stored Print Profiles are also created as printer settings.
In addition to the standard configuration, further settings can be created for special requirements such as color and/or duplex printing.
Info
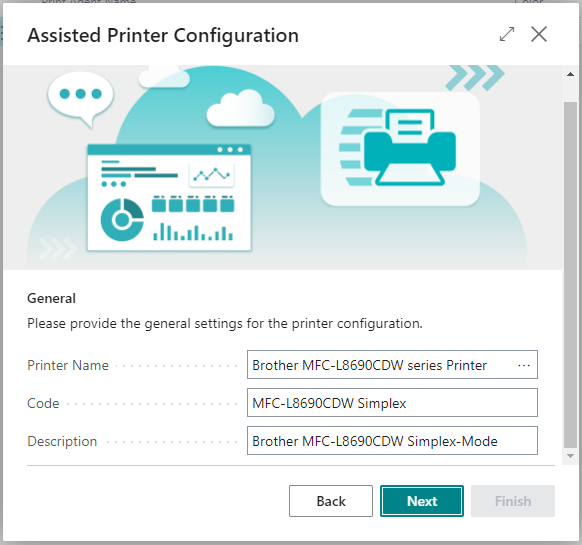
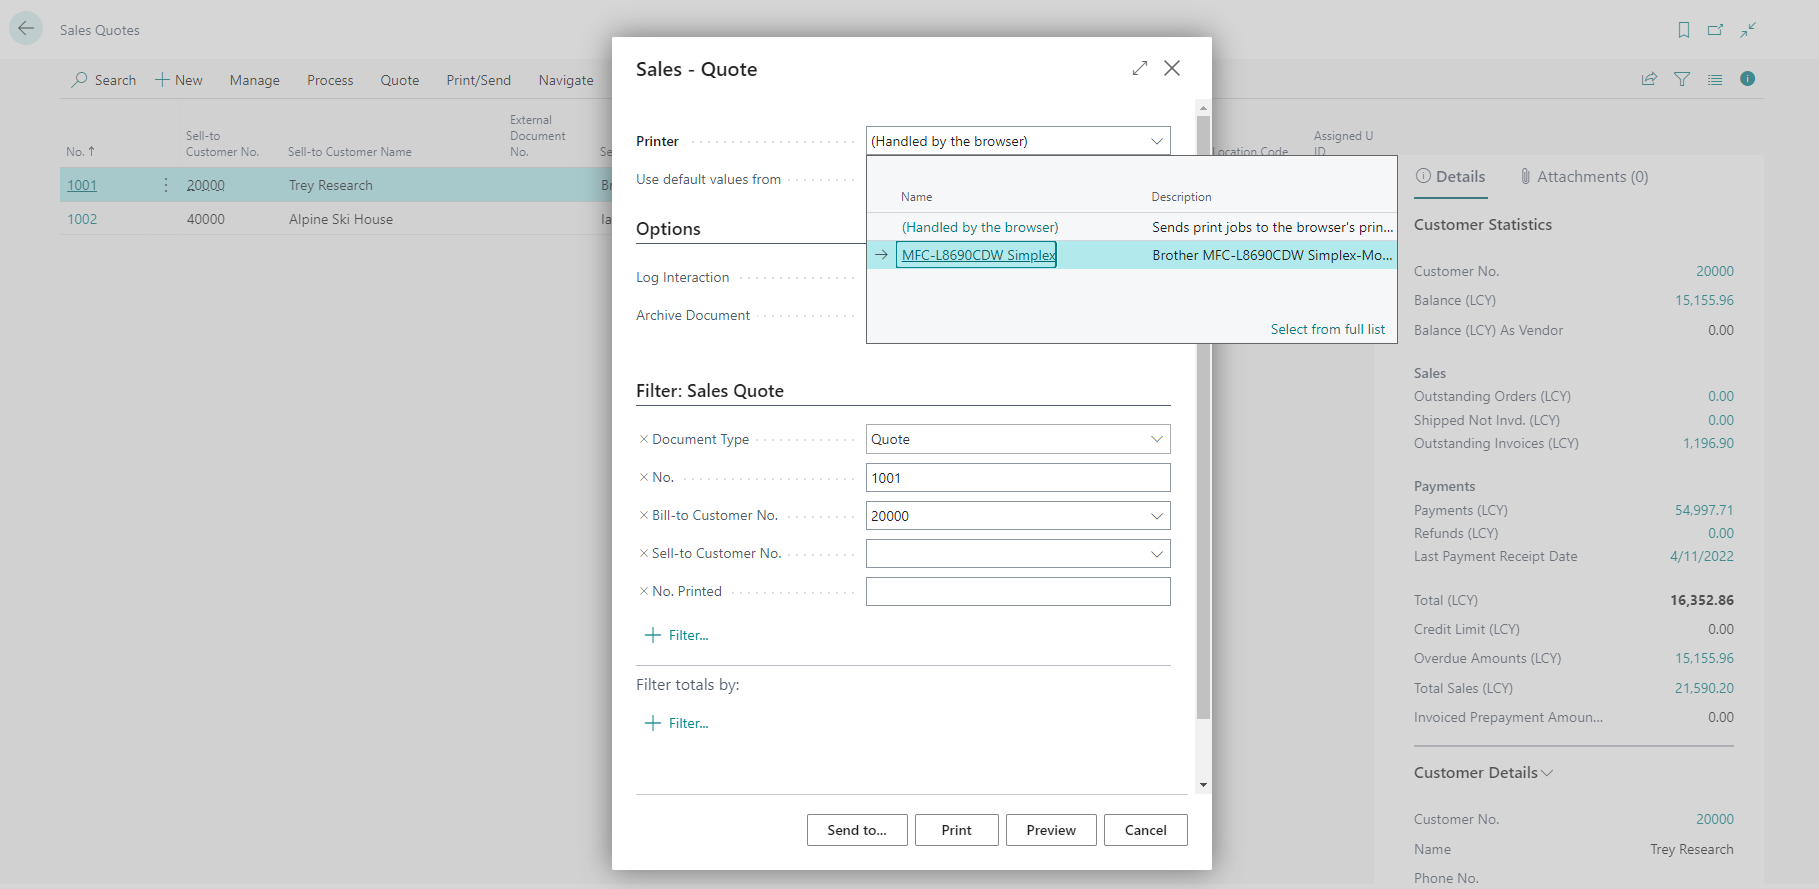
The Code field of a Printer Configuration is displayed to the user via the Printer Selection and in various other places in Microsoft Dynamics 365 Business Central.
Therefore, use a user-friendly name.
What are Printer Configurations?
There are two types of printer configurations in 365 business Print Agent:
1. Printer Configuration
Printer settings are based on the standard functions of the respective printer and are created directly in Microsoft Dynamics 365 Business Central.
They are used for simple print jobs such as:
- Duplex printing
- Number of copies
- Color printing
- Selection of paper type and paper tray
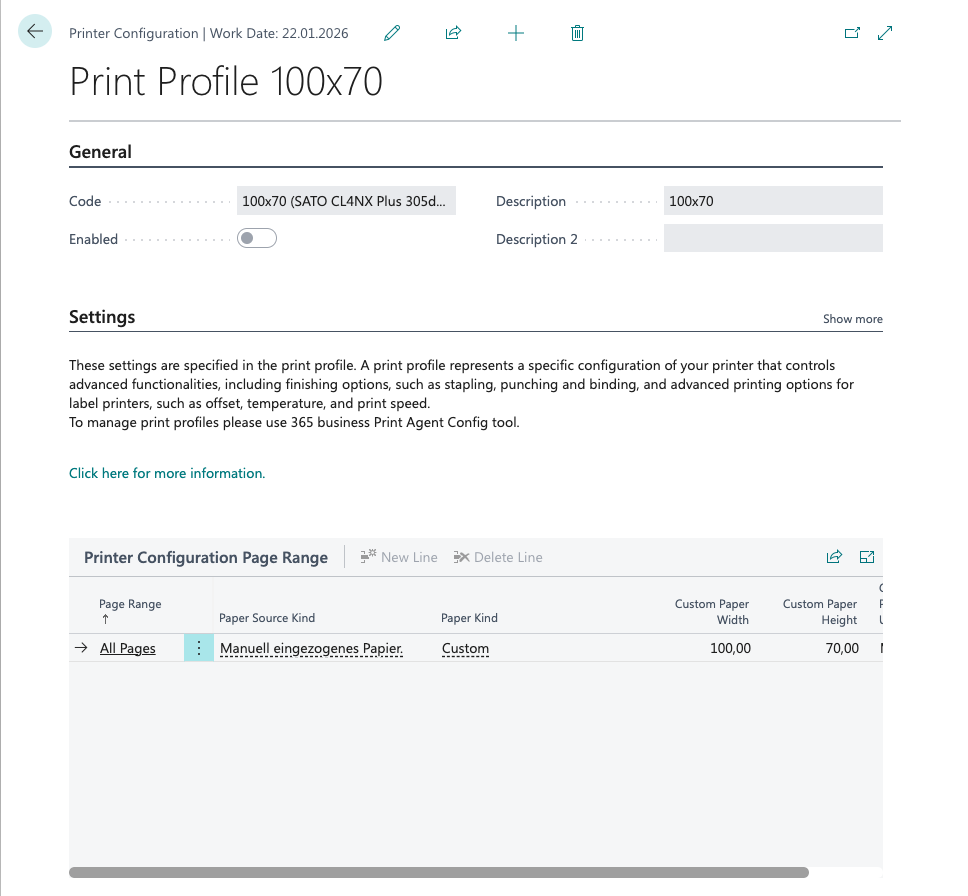
2. Print Profile
A Print Profile represents an extended configuration of your printer and enables the use of additional functions.
Typical examples of extended functions:
- Finishing options (stapling, punching, binding)
- Special functions for label printers (offset, temperature, print speed)
Info
Print Profiles are managed in the 365 business Print Agent Windows application.
Learn more at our documentation.
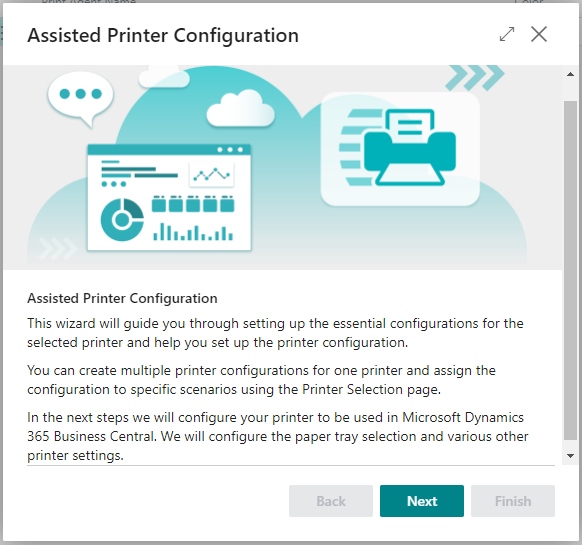
How do I create a Printer Configuration?
Printer Configuration can be created in two ways:
- Via the Printer Configuration page
- By using the Assisted Printer Configuration page
Step-by-step instructions
-
Open Printers page.
-
Select Add Printer Configuration.
-
Click Next.
-
Enter a user-friendly Name (Field Code).
-
Enter a Description that describes the use of the configuration.
-
Click Next again.
-
Select a Paper Kind (e.g. A4 paper (210 mm by 297 mm).)
(If desired, you can specify a User-defined Paper Size with height and width.) -
Specify whether Color Printing should be activated.
(Only relevant if the printer supports color printing.) -
Choose whether printing should be Simplex (single-sided) or Duplex (double-sided). (Only possible if the printer supports duplex printing.)
-
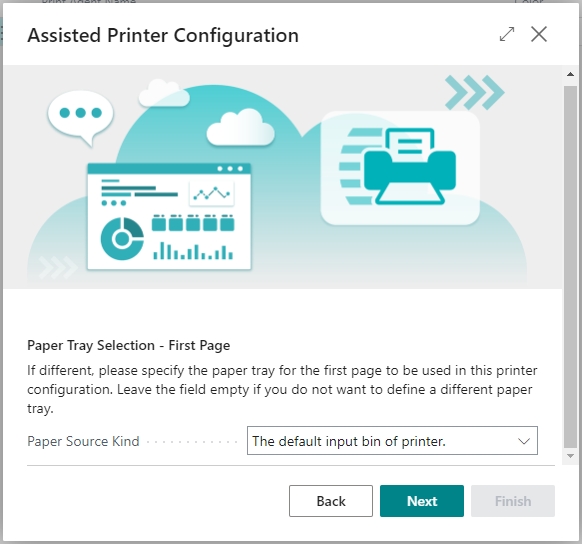
Decide whether multiple Paper Trays should be used.
-
Select a Paper Source Kind (Paper Tray) for all pages or specific sections.
-
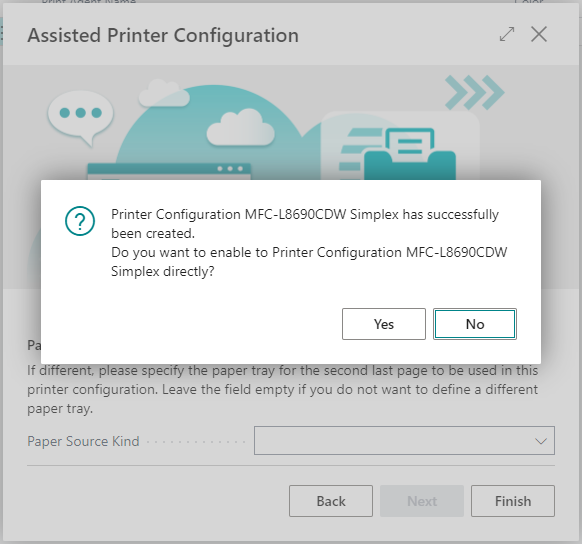
Click Finish.
-
Enable Printer Configuration for usage, by selecting Yes.
Good to know
In some cases, it may be useful to rotate the print output - e.g. if a layout created in landscape format is to be output in portrait format on a label printer.
Use the Rotation field within the printer settings for this.
Next steps
Once the Printer Configuration have been created, you can select them on the Report Request Page when printing.
To get the most out of Direct Printing, you should assign the printer settings on the Printer Selection page.
Assign Printer Configuration in Printer Selection
- Open Print Selection.
- Select User ID or leave the field empty (for all users).
- Enter Report ID or leave it blank (for all reports).
- Select Printer Name from the drop-down menu.
Info
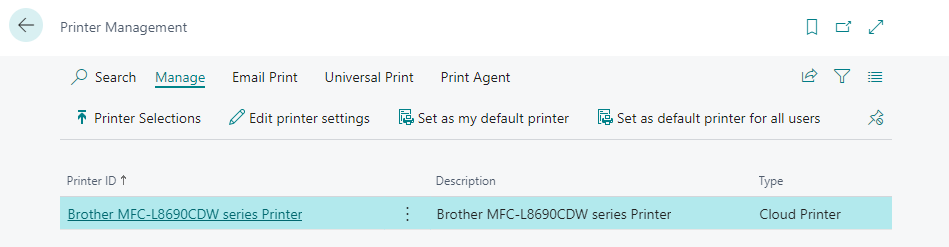
In the Printer Management overview, you will find all printers activated in the 365 business Print Agent and their configurations.
From here you can easily open Printer Configuration or set a default Printer.