
Print Profile
A Print Profile is a Custom Printer Configuration that enables advanced features for your printer.
Good to know
Basic printing tasks like duplex printing, number of copies, color output, or paper selection do not require a Print Profile. However, if you want to use special printing functions, a Print Profile is required.
Good to know
Print Profiles are only available for printers that are configured with the Standard emulation type.
Advanced features include, for example:
- Finishing options such as stapling, punching, or binding
- Special settings for label printers (offset, temperature, speed)
Creating a Print Profile
Step 1: Select a Printer
In the 365 business Print Agent Config Tool, go to the Printer section, select your printer, and click Print Profiles.

Step 2: Manage Print Profiles
The dialog shows all existing Print Profiles. You can create new ones, edit existing profiles, or delete them. Click Save to apply your changes.
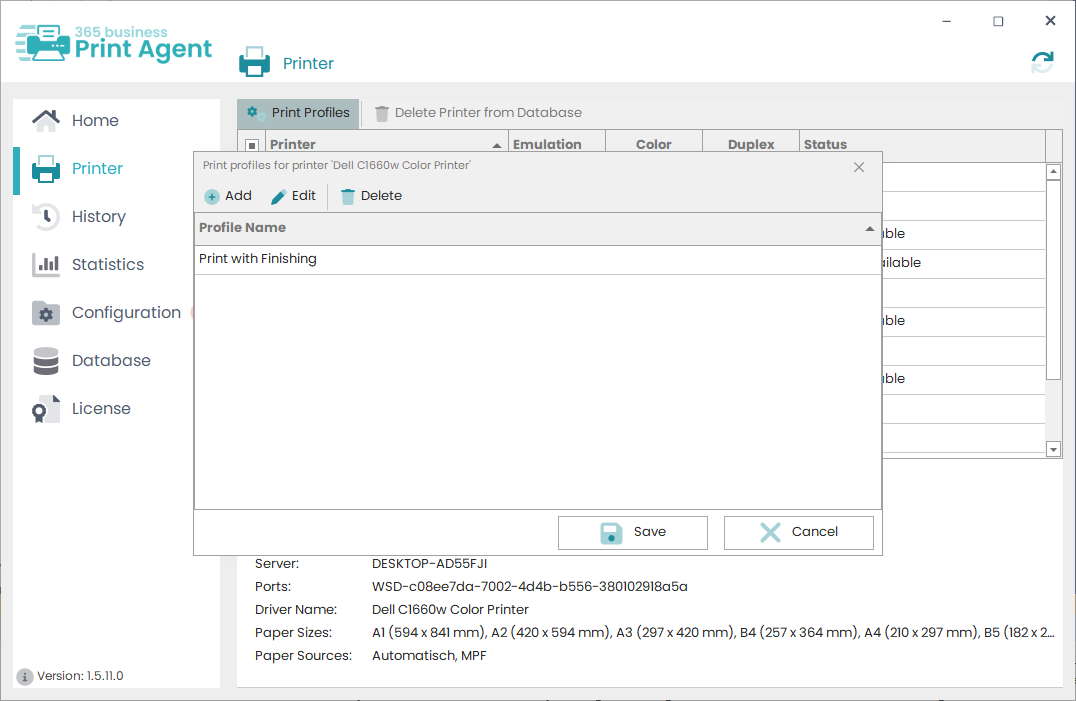
Step 3: Create a New Print Profile
Click New to launch the setup wizard.
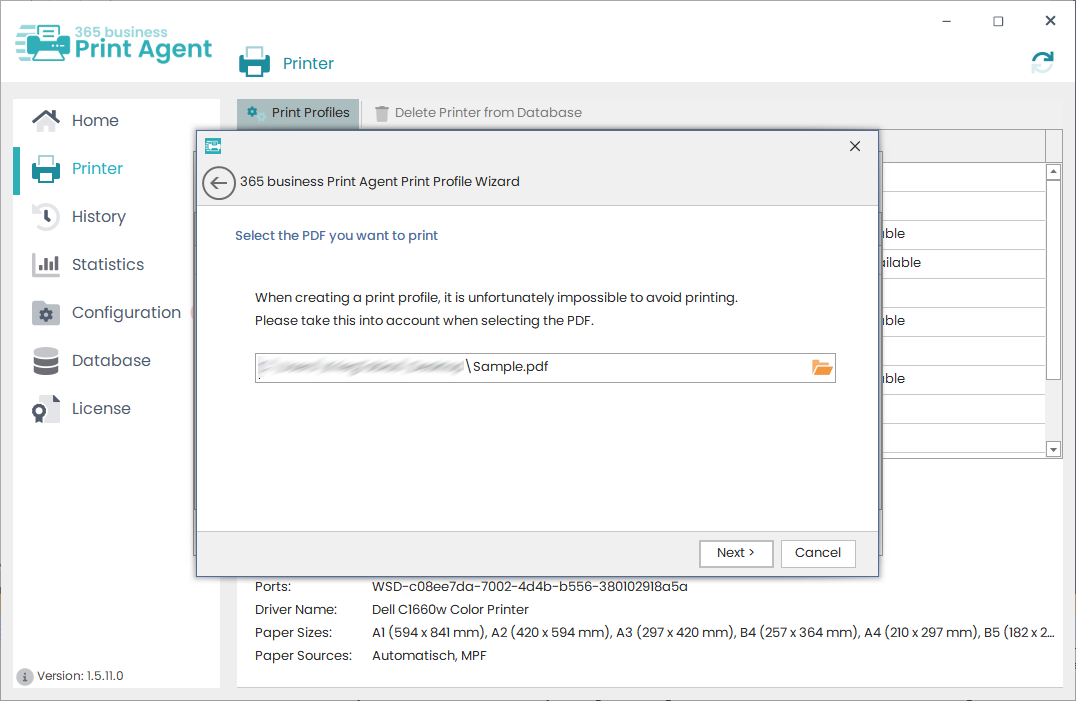
After a short introduction, select a PDF file for test printing and click Next.
Info
The selected PDF will actually be printed!
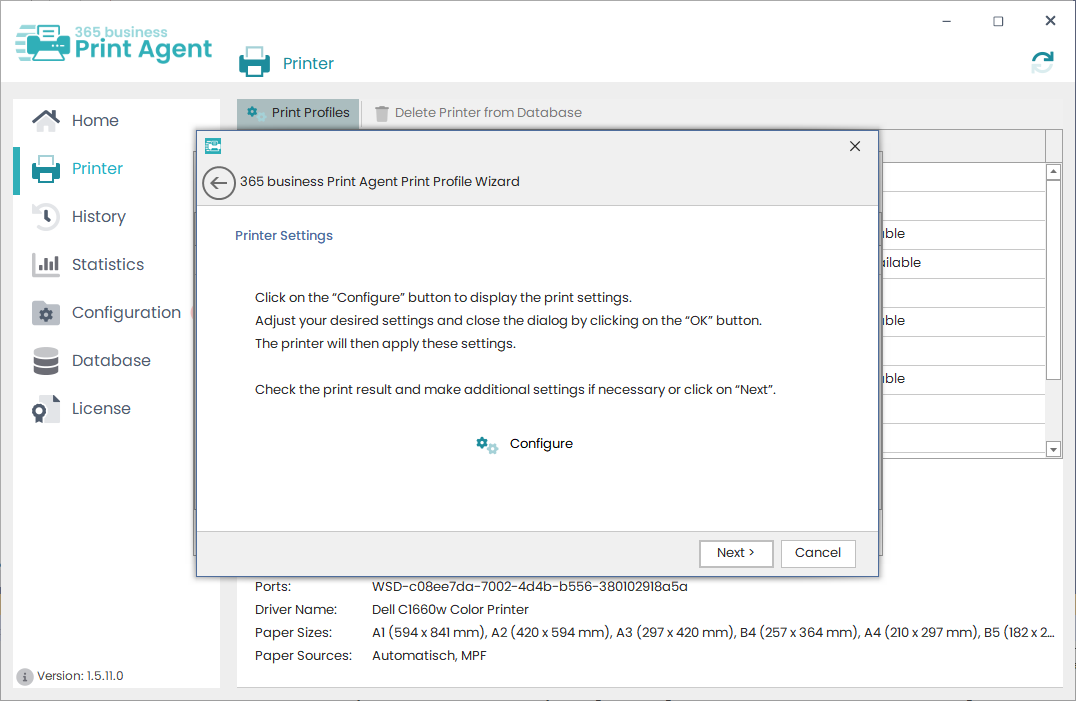
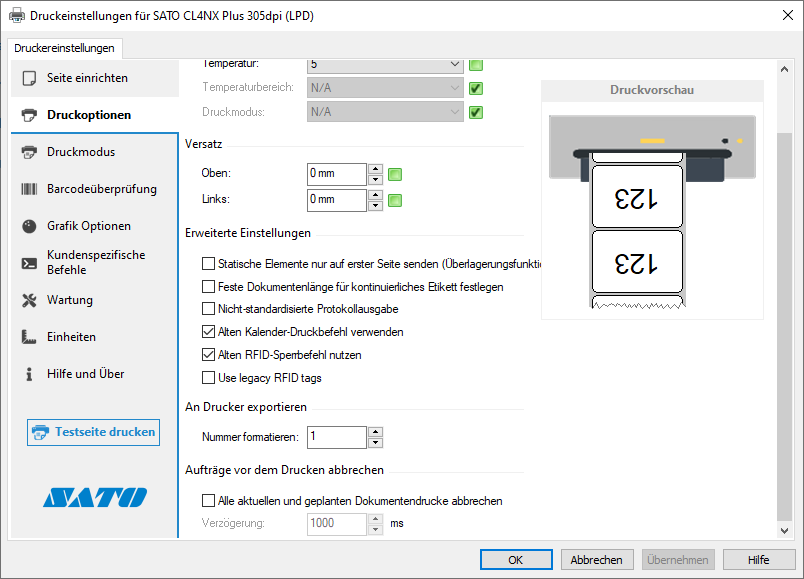
On the next screen, click Configure to open the print settings dialog.
Make your adjustments and confirm with OK – the PDF will be printed. If the result meets your expectations, click Next.
If not, you can adjust the settings further using the Configure button.
Info
The appearance of the print settings dialog may vary depending on the printer model.
Finally, assign a name to your Print Profile. This name will later appear in the 365 business Print Agent App in Microsoft Dynamics 365 Business Central.
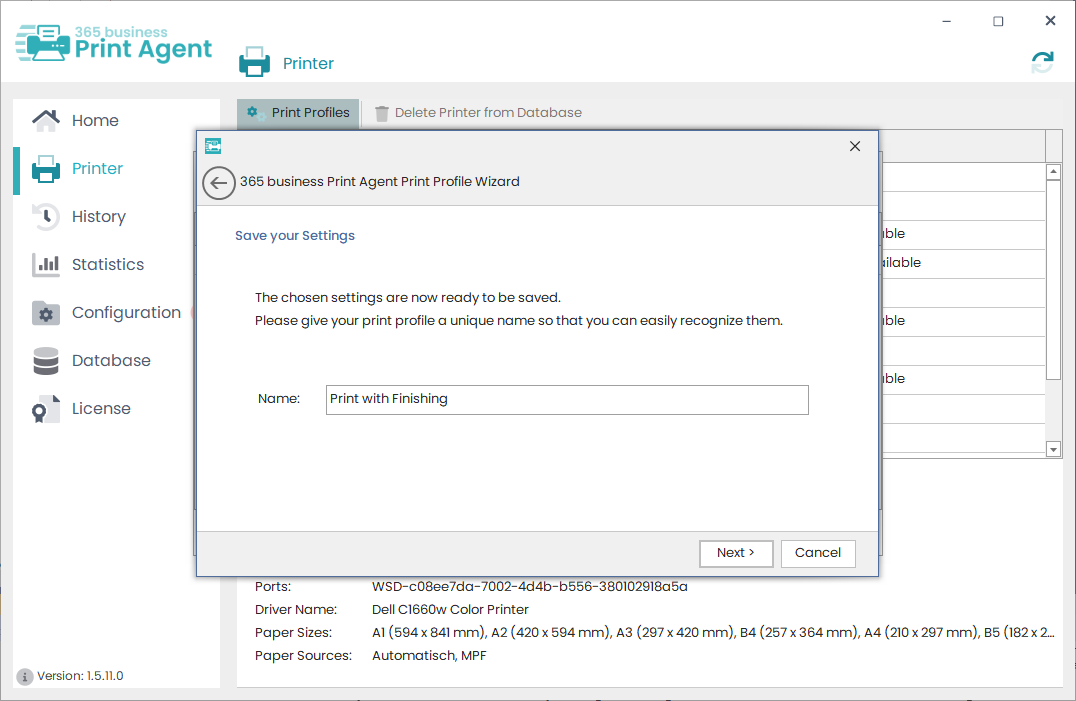
After successful configuration, you can complete the wizard.
Step 4: Save the Print Profile
Click Save to store the profile and make it available in Microsoft Dynamics 365 Business Central.
Info
To use the new Print Profile in Microsoft Dynamics 365 Business Central, the printer list must be refreshed. Learn more here.