import { Callout } from "zudoku/ui/Callout";
# Sanction Screening
Sanction screenings can be performed with 365 business Sanction Screen in Microsoft Dynamics 365 Business Central for various entities. The results of the screenings are displayed in the respective card view and can be further processed.
## Types of Sanction Screenings
365 business Sanction Screen provides two types of sanction screenings:
- Manual sanction screening
- Automated sanction screening
To ensure optimal sanction list screening, we recommend configuring the screening intervals of individual entities (e.g., customer) in the Sanction Screen Setup and using the automated screening.
## Supported Entities
The following Microsoft Dynamics 365 Business Central entities are supported by 365 business Sanction Screen:
- Customer
- Bank Account
- Ship-to Address
- Vendor
- Bank Account
- Remit Address
- Order Address
- Contact
- Bank Account
- Employee
Sanction screening with 365 business Sanction Screen is open for custom entities.
For more information, see here.
Additionally, the following documents are supported:
- Sales Documents
- Sales Quote
- Sales Order
- Sales Invoice
- Sales Credit Memo
- Purchase Documents
- Purchase Quote
- Purchase Order
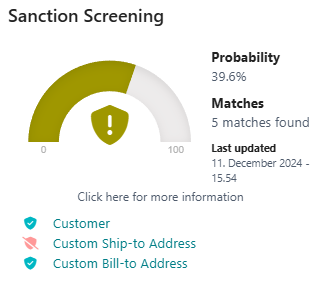
When screening documents, the different addresses (e.g. ship-to address) are checked individually if they differ. Additionally, it is checked whether the address has already been checked (e.g. customer address), and the corresponding source is displayed:
 ## Performing a Sanction Screening
Follow these steps to perform a sanction screening:
1. Open the page (e.g., customers) in Microsoft Dynamics 365 Business Central.
2. Select the desired record.
3. Hover over the sanction screening indicator and select the action **Invoke Sanction Screening**.
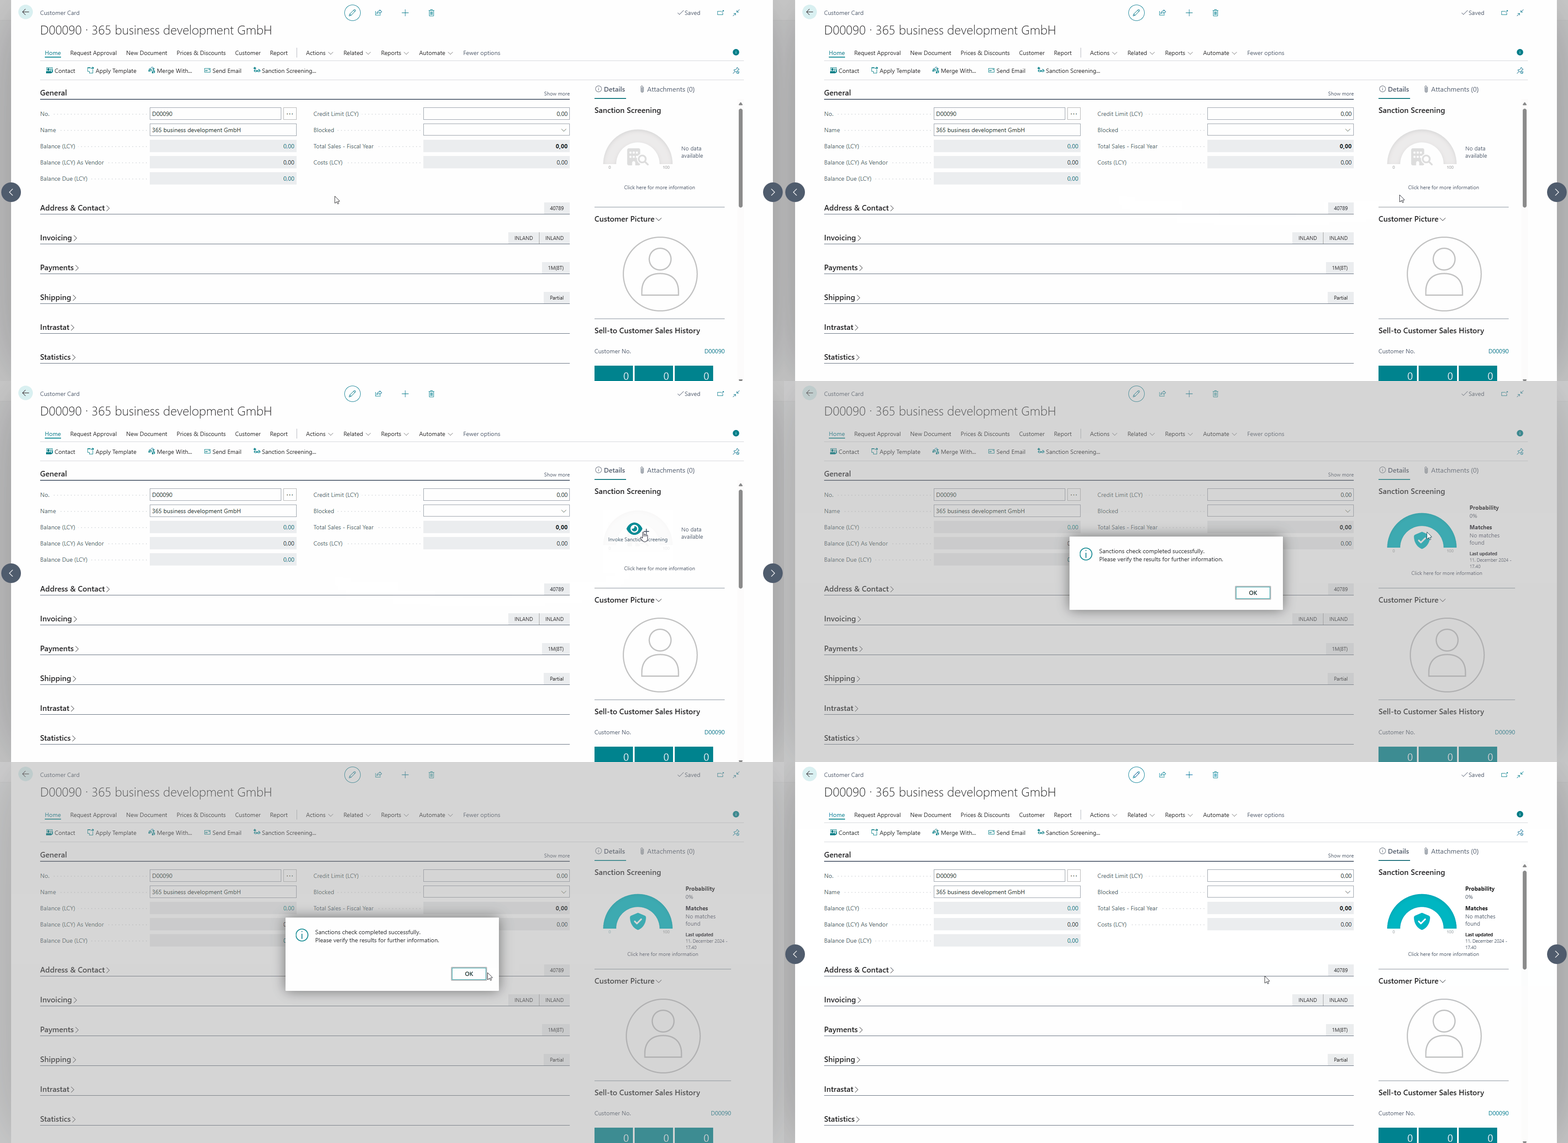
If the sanction list screening was successful and no potential matches were found, the following message appears:
## Performing a Sanction Screening
Follow these steps to perform a sanction screening:
1. Open the page (e.g., customers) in Microsoft Dynamics 365 Business Central.
2. Select the desired record.
3. Hover over the sanction screening indicator and select the action **Invoke Sanction Screening**.

If the sanction list screening was successful and no potential matches were found, the following message appears:
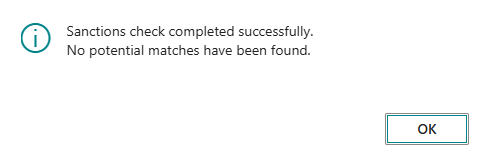
In this case, no further action is necessary.
### Reviewing Sanction List Matches
If potential matches were found, the following message appears:

To review the potential matches, follow these steps:
1. In the **Sanction Match Entries** page, the potential matches are displayed.
2. Select the **Sanction Match** to get more information.
In the detail view of the sanction match entry, you can retrieve additional information, such as the reason for the sanction, the sanctioning authority, and more, by selecting the action Retrieve Additional Information....
A match usually carries several **risk tags**. The list of sanction match entries shows the risk tag with the highest severity, so that a purely descriptive risk tag cannot hide a sanction. You find the complete list in the detail view of the sanction match entry, in the **Risk Tags** section.
For more information, see Entity Risk Tags.
### Processing Sanction List Matches
If the sanction match is a **false positive**, follow these steps:
1. Select the action **Add Match to Whitelist...**.
2. In the **Add Match to Whitelist** page, you can add the sanction match entry to the whitelist to avoid future matches. You must provide a reason and confirm the action with **OK**.
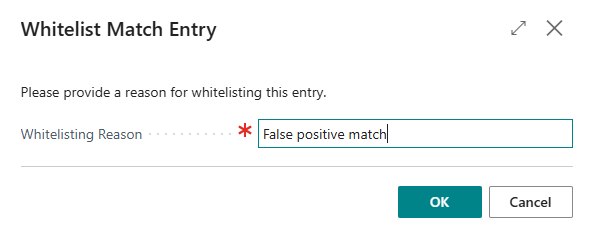
The permission set Sanction Screening - Whitelist is required to add a sanction match entry to the whitelist.
## See also
- [Setup](setup.md)
- [Data Catalogs for Sanction Screening](data-sources.md)
- [Automated Sanction List Screening](automated-screening.md)
- [Audit Report](audit-report.md)