import { Callout } from "zudoku/ui/Callout";
# Quick Setup
After successful installation of **365 business Print Config**, a setup wizard will guide you through the initial configuration upon first launch.
During this process, you define:
- which database to use
- which Connection Type (Direct Connection / Print Agent Cloud) the Print Agent should operate with
Once all required settings have been completed, the database is created and the communication service for **Microsoft Dynamics 365 Business Central** is configured.
Before starting the initial setup in 365 business Print Config, please ensure you have installed and set up the "365 business Print Agent" app from Microsoft Marketplace in your Microsoft Dynamics 365 Business Central tenant.
This is required to enable communication between your on-premise service and the Business Central tenant.
## Example: Setup of "365 business Print Agent Cloud"
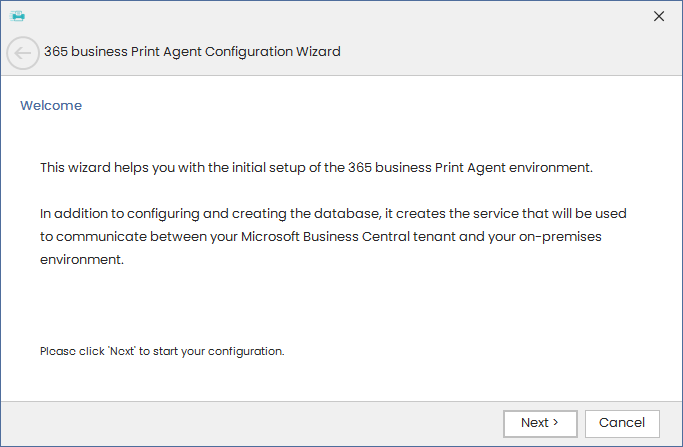
1. The wizard starts and provides an introduction.
2. Select a database:
Choose between **SQLite** and **Microsoft SQL Server**. If you expect more than 2000 print jobs per day, we recommend using Microsoft SQL Server.
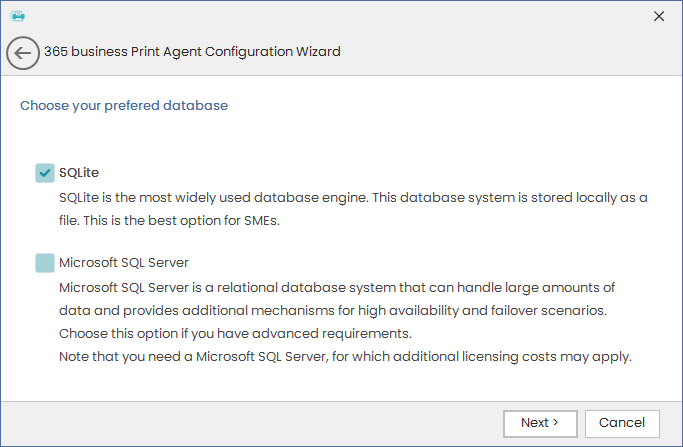
When using Microsoft SQL Server, additional license costs may be incurred.
You can change the database at a later stage. Learn more.
3. Select the Connection Type:
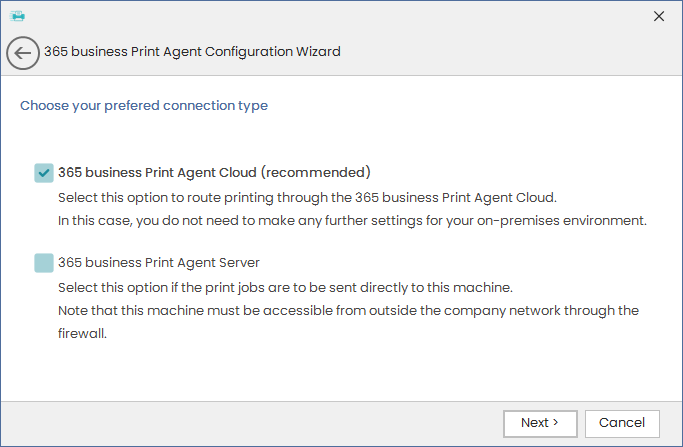
You can change the service mode later. Learn more.
4. Enter your **Tenant-ID** and a unique name for your 65 business Print Agent Cloud Client.
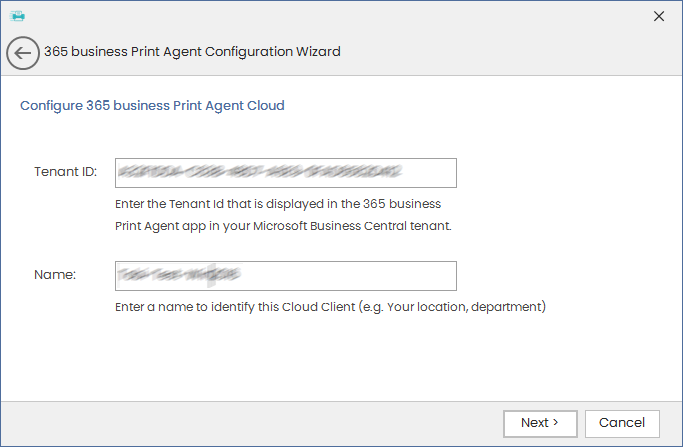
You can find the Tenant-ID in the "365 business Print Agent" app within Microsoft Dynamics 365 Business Central.
5. Confirm the configuration to create, initialize and start the service.
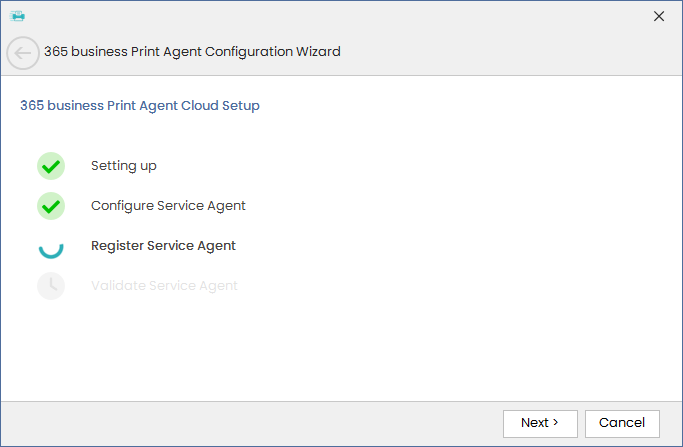
6. After successful setup, the wizard can be closed.
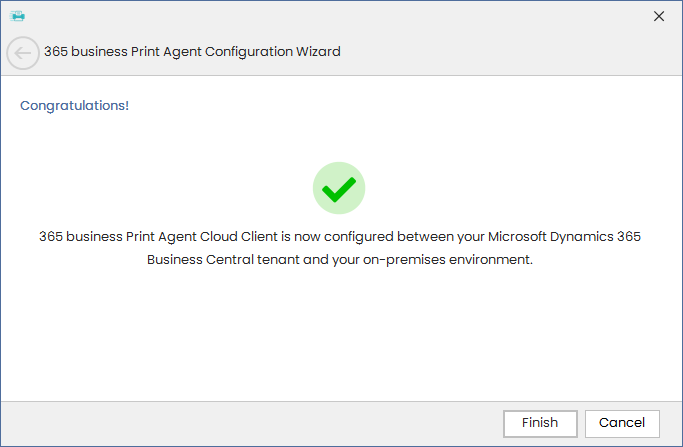
After completing the wizard, we recommend proceeding with printer sharing. Learn more.