import { Callout } from "zudoku/ui/Callout";
# Use a bank account with your own bank login
This page describes how several users in 365 business Banking use the same bank account with their own bank login when your bank issues personal credentials.
**Applies to:** PSD2/XS2A via finAPI
## Use cases
Some banks issue **personal online banking credentials**: every person has their own login and TAN method; there is no shared company login. The access with which one person connected the account then belongs to **that person**. When another person carries out a payment, the bank requires **their** credentials and **their** TAN.
So that several people can use the same bank account, each person creates a **personal bank access** with **Use With My Own Bank Login**. How Business Central then determines which access reads and which pays is explained in [Bank access](../../concepts/bank-access.mdx#which-access-business-central-uses-when).
If your bank issues a shared company login, the company bank access is sufficient. Personal bank access is not relevant for EBICS and the file route.
## Prerequisites
- The bank account is already connected via PSD2/XS2A ([Connect via PSD2/XS2A](connect.mdx)).
- The person being added is **signed in themselves** and has their online banking credentials and TAN device at hand.
The wizard does not ask which person is concerned: the person signs in to their own bank during the process. Therefore, carry out the steps **at their workstation and with their sign-in**, not with yours.
## Step by step
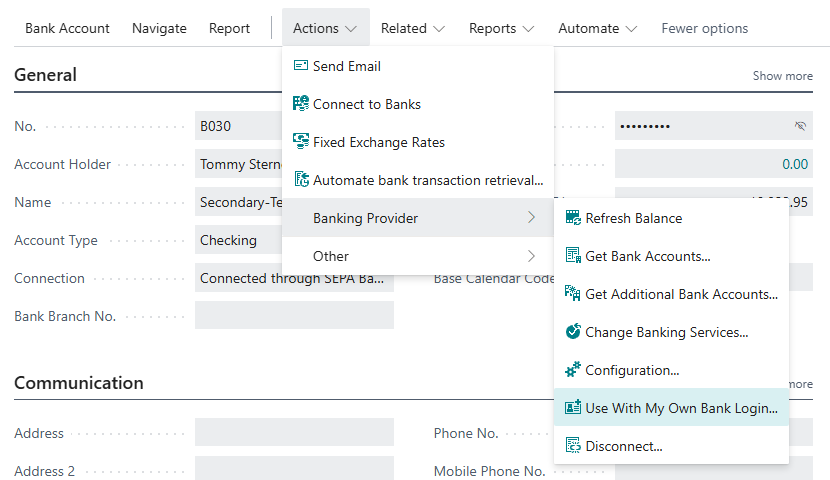
1. Open the account's **Bank Account Card**.
2. Choose **Actions** > **Banking Provider** > **Use With My Own Bank Login**.
3. **Your details** (only the first time): check **Email Address** and **Phone Number** (both prefilled) and choose **Next**. If a personal bank access already exists, this step is skipped and the web form opens immediately.
4. **Connect the bank account**: the web form opens **directly at this account's bank**. Sign in with **your** credentials and confirm access.
5. **Ready**: Business Central shows which bank account will be taken over. Choose **Finish**.
In the web form, the person must connect exactly the bank account to which they are being added. Business Central compares IBAN, bank and currency; any other account is rejected and removed again.
## What you see afterwards
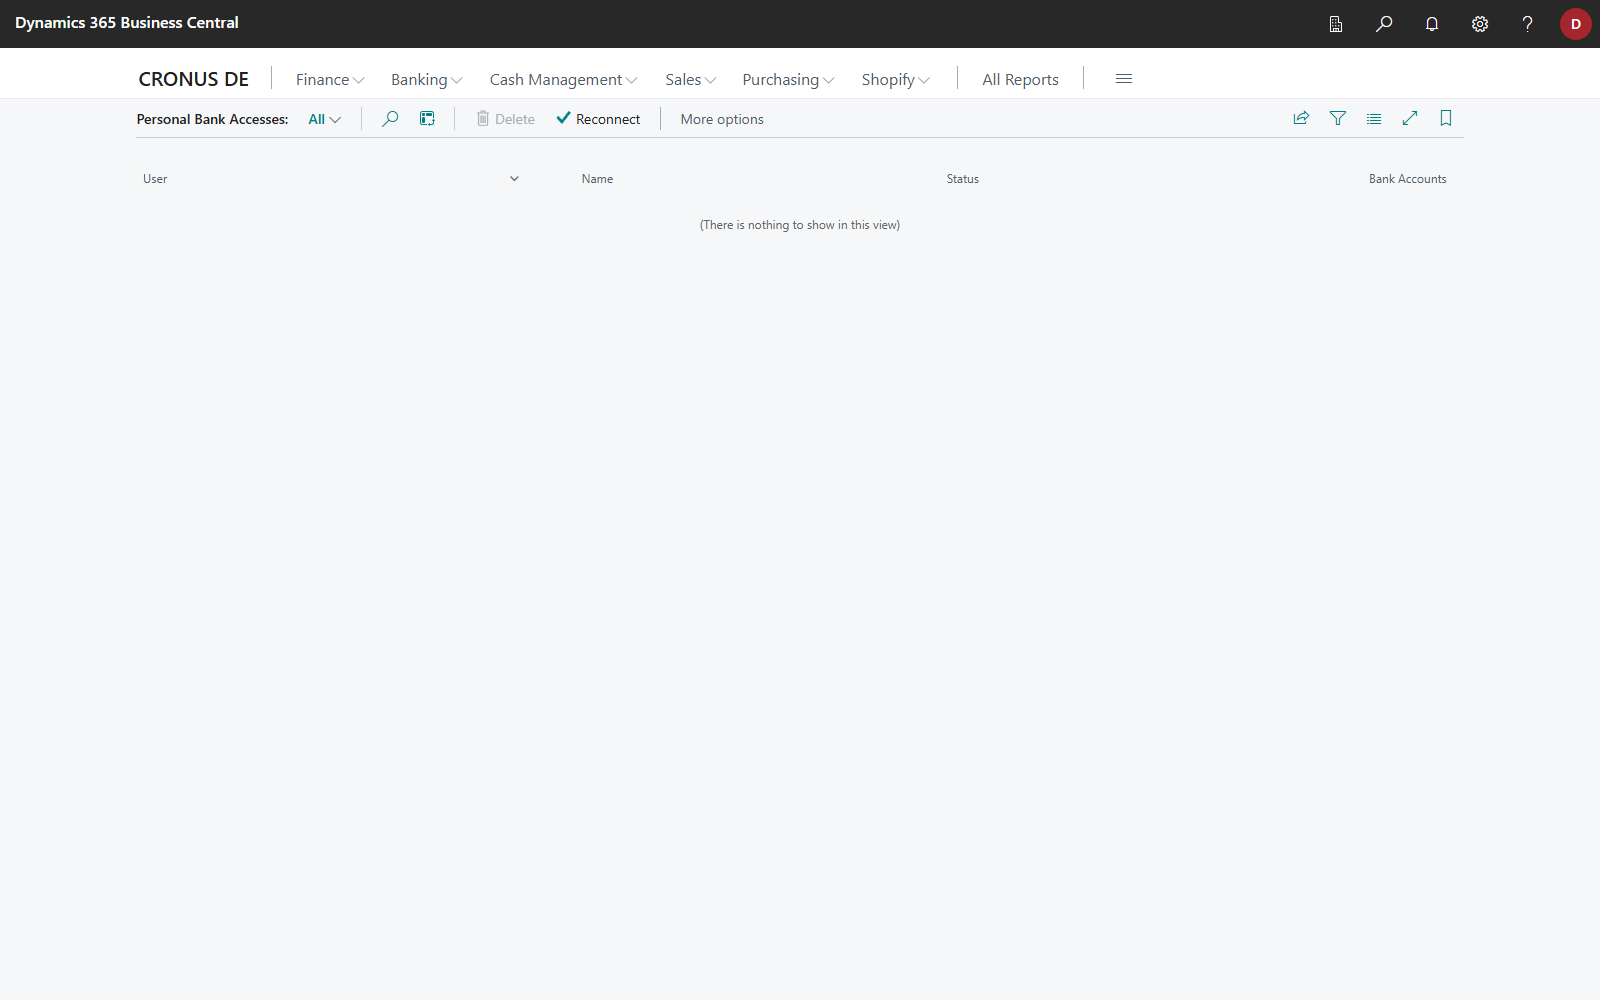
- On the **Personal Bank Accesses** page, the person is shown with the status *Connected*, and **Bank Accounts** shows how many accounts they reach with their own access.
- On the bank account card, the **Who Can Use This Account** FactBox is shown. For the person, **Can Pay** is set, **Reads Transactions** usually not. The account continues to be read through the access it was connected with.
- When the person carries out a payment in the future, Business Central automatically uses their credentials.
The company bank access is not shown on the **Personal Bank Accesses** page; it has its own page under [Banking setup](../../setup/banking-setup.mdx).
## Read transactions through another access
If another person is to deliver the transactions, for example because only they can reach the account at the bank, choose **Read Transactions Through This Access** for them in the **Who Can Use This Account** FactBox. This transfers reading from the previous access to this access. Transactions already imported can then arrive again, because finAPI assigns transaction IDs per account of an access, and the new access delivers other transaction IDs for the same transactions. Check the first retrievals after the change and delete lines with transactions that are already posted before you post the payment reconciliation journal. See [Combine banking services](../mixed-operation.mdx#duplicate-prevention).
## Remove a person
1. Open **Personal Bank Accesses** (via **Banking Setup**).
2. Select the person's line and choose **Disconnect**. The same action is also available on their card.
The person's access at finAPI is released, and their bank account assignments are removed.
A connected access cannot be deleted, because the user would otherwise remain at finAPI and the same person could not be created again. **Disconnect** is therefore the decisive step, not an intermediate step.
The bank accounts remain connected and continue to be read and paid through the company bank access. If you had explicitly set the reading source to this person, reset it before disconnecting.
## Troubleshooting
| Message | Cause and remedy |
|---|---|
| "The connected bank account is not …" | A different account was chosen in the web form. Connect the same bank account, at the same bank and in the same currency. |
| "… connected accounts carry the IBAN …" | The bank reported several accounts with the same IBAN. Contact your bank or connect only the account you want in the web form. |
| **Assigned Bank Accounts** shows *Not connected yet* | The person is assigned but never connected the account themselves in the web form. Until then, the company bank access applies. |
## See also
- [Bank access](../../concepts/bank-access.mdx)
- [Banking setup](../../setup/banking-setup.mdx)
- [One bank access for several companies](../multi-company.mdx)