Plugins installieren
Die Plugin-Installation erfolgt direkt in Microsoft Dynamics 365 Business Central.
Schritt für Schritt
Öffnen Sie Microsoft Dynamics 365 Business Central.
Navigieren Sie zur Seite Proxy Application Clients.
Klicken Sie auf Aktualisieren, um verfügbare Clients zu laden.
Wählen Sie den gewünschten Client anhand des Namens aus.
Klicken Sie auf Plugins installieren.
Klicken Sie auf Weiter.
Wählen Sie die gewünschten Plugins (z. B. das File Plugin).
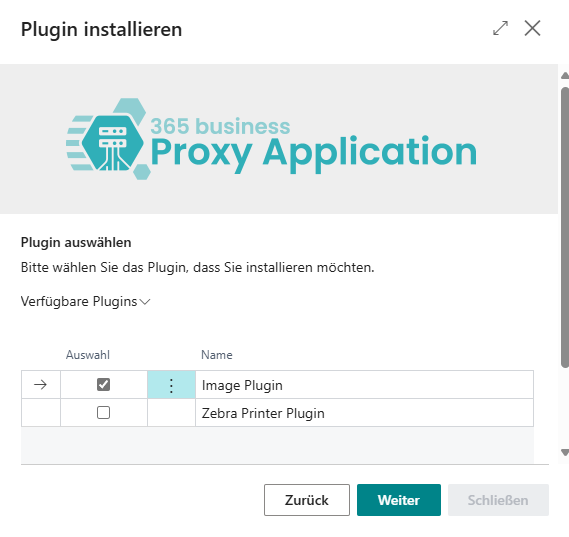
Klicken Sie erneut auf Weiter.
Nach erfolgreicher Installation klicken Sie auf Schließen.